Picture this: you’re groggily waking up one morning, stumble into your kitchen, and face the dreaded task of brewing your morning coffee. You fumble with filters, spill water, and just when you thought you couldn’t be more of a hot mess, you accidentally knock over your French press, shattering it into a million pieces.
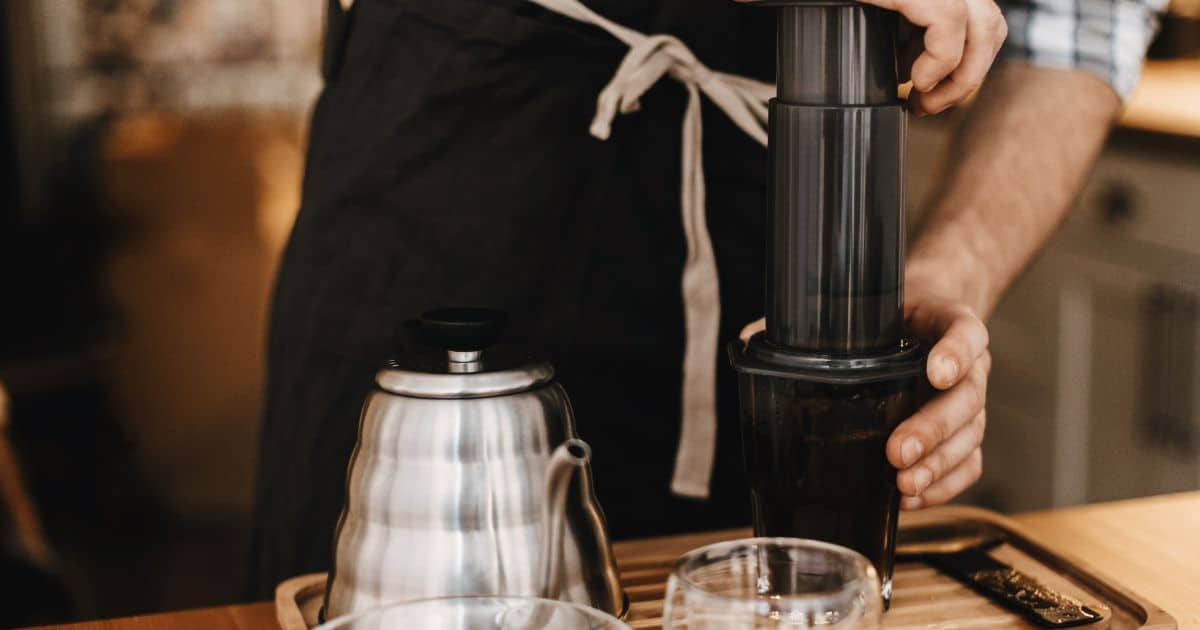
But fear not, my coffee-loving comrades! There’s a hero in town, and it’s called the AeroPress.
In this article, we’re going to spill the beans (pun intended) on this nifty little device that’s won the hearts of coffee enthusiasts everywhere. We’ll be answering questions like:
What is an AeroPress?
Why is AeroPress coffee so good?
How does it stack up against the French press?
Can it make a decent espresso?
How do you use an AeroPress?
Where can you buy one?
Stick around, and you might just find yourself falling in love with the AeroPress too!
What is an AeroPress?
The AeroPress is a charming and compact coffee brewing device that has gained quite a following in the world of coffee aficionados. Invented by Alan Adler, the same brilliant mind that brought us the Aerobie flying disc, this gadget has revolutionized the way we brew coffee at home and on the go.
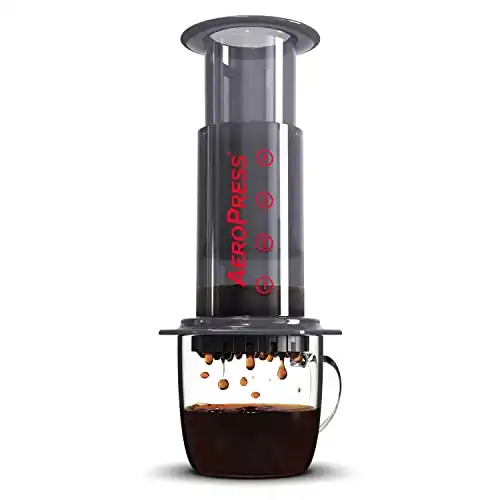
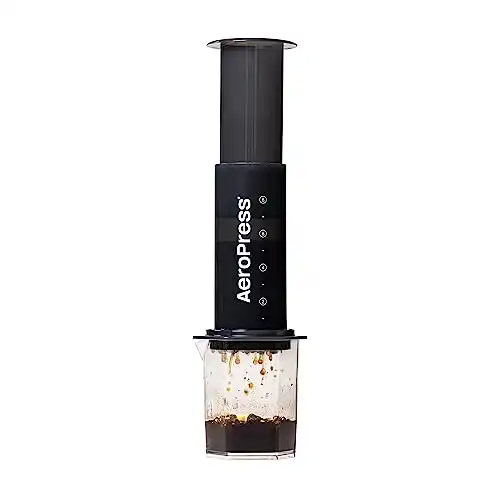
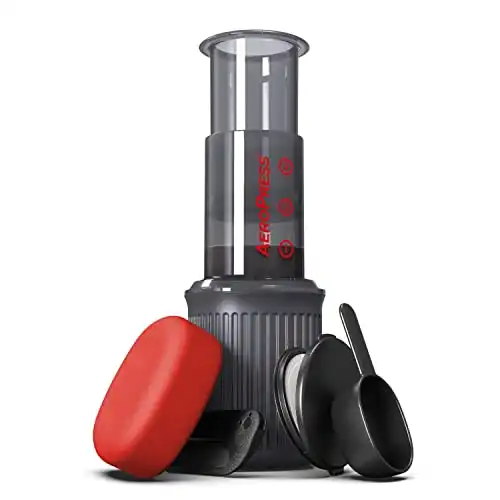
Made of durable, lightweight plastic, the AeroPress coffee maker consists of three main parts: a cylindrical brewing chamber, a plunger, and a filter holder cap. By combining the principles of immersion brewing and pressure extraction, the AeroPress produces a smooth, full-flavored cup of coffee in under a minute.
Yes, you read that right, under a minute!
But how does this little wonder make such great coffee? Let’s dive into the secret behind its brewing prowess in the next section.
The Magic of AeroPress Coffee
So, why is AeroPress coffee so good? Let’s break down the elements that make the best coffee using this brewing method stand out from the rest.
Total Immersion: Unlike drip coffee makers, the AeroPress coffee maker fully immerses the coffee grounds in water. This allows for a more even extraction, which results in a smoother, more balanced cup.
Pressure Extraction: When you press down on the plunger, the air pressure forces the water through the coffee grounds and the filter. This pressure aids in extracting more of the coffee’s oils and flavors, leading to a richer taste.
Short Brew Time: The AeroPress brews coffee in under a minute, which reduces the risk of over-extraction and bitterness. It also means you get your caffeine fix faster!
Customizable Strength: You can easily adjust the coffee-to-water ratio and brewing time to create a cup that suits your personal taste. Whether you like it strong or mellow, the AeroPress has you covered.
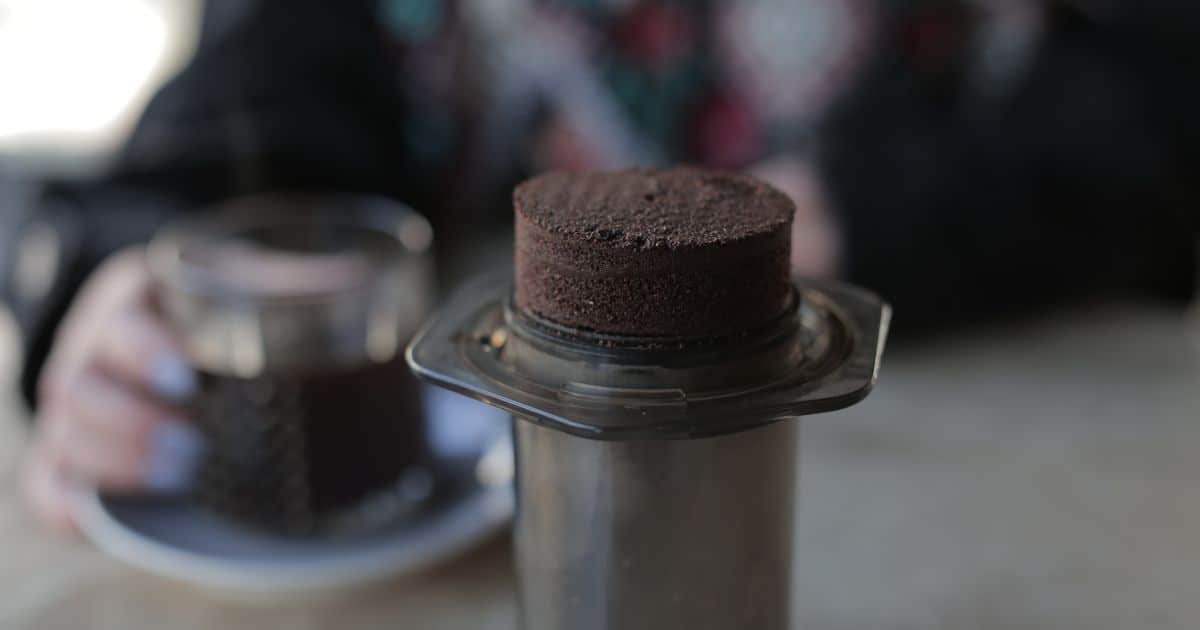
Easy Cleanup: One of the best things about the AeroPress is how simple it is to clean up. Just remove the filter cap, pop out the coffee puck, and give everything a quick rinse. No more dealing with messy coffee grounds!
|
N/A
|
$9.95
|
|
Now that you know the secret behind the AeroPress’s magic, let’s see how it stacks up against another popular brewing method: the French press.
AeroPress vs. French Press: The Showdown
When comparing the AeroPress to the French press, it’s essential to consider the differences and similarities between these two brewing methods. Here’s a head-to-head comparison of the AeroPress and French press:
Brewing Time: The AeroPress coffee maker wins hands down in this category, with its super-fast brewing time of under a minute. In contrast, a French press typically takes around 4 minutes to brew.
Coffee Grounds: Both the AeroPress and French press use coarser coffee grounds than drip coffee makers. However, the AeroPress calls for a slightly finer grind compared to the French press, which can impact the extraction process and resulting flavors.
Filtration: The AeroPress uses a paper or metal filter, which effectively removes most of the coffee oils and fine particles. This results in a cleaner, less gritty cup. On the other hand, the French press uses a metal mesh filter, which allows more oils and fine particles to pass through, producing a thicker, bolder cup.
Ease of Use: Both brewing methods are pretty simple to use, but the AeroPress takes the cake when it comes to cleaning up. The French press can be a bit cumbersome to clean, as the coffee grounds tend to get stuck in the mesh filter.
Related Article: The Ultimate Guide To French Press Coffee: Brew Like A Pro And Impress Your Friends!
AeroPress Espresso: Can It Compete?
While the AeroPress is known for making an excellent cup of coffee, many wonder if it can also deliver a decent espresso. The answer? Sort of.
An AeroPress coffee maker can produce a concentrated coffee that resembles an espresso in terms of flavor and strength, but it falls short of creating the same level of pressure required for a true espresso shot (typically around 9 bars).
As a result, the crema you’d expect from an authentic espresso will likely be missing or minimal.
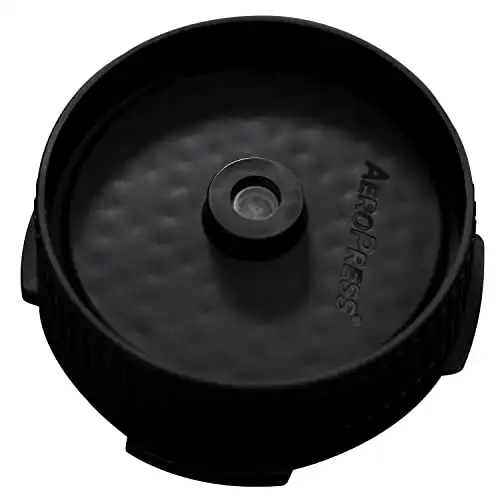
If you want to invest in the additional Flow Control Filter Cap with Micro Filters then you can get close to espresso, but its still not a true espresso maker.
However, don’t let this discourage you! AeroPress espresso is still a delicious and robust brew that can be used as a base for various espresso-based drinks, like cappuccinos or lattes.
It’s also a fantastic option for travelers or campers who crave a strong coffee fix without lugging around bulky espresso equipment.
Mastering the AeroPress: How to Use It
If you’re ready to embark on your AeroPress journey, here’s a step-by-step guide to help you brew great tasting coffee:
Heat water to about 200°F (93°C). If you don’t have a thermometer, simply bring the water to a boil and let it sit for 30 seconds.
Grind your coffee beans to a medium-fine consistency, similar to table salt.
Assemble the AeroPress by placing the filter in the filter cap and screwing it onto the brewing chamber. If you’re using a paper filter, rinse it first with hot water to remove any paper taste.
Place the AeroPress on a sturdy mug or cup, with the filter cap facing down.
Add the coffee grounds (about 15-18 grams) to the brewing chamber and give it a gentle shake to level the grounds.
Pour the hot water into the brewing chamber, saturating all the coffee grounds. Fill it up to the desired level based on your preferred coffee strength.
Stir the coffee and water mixture for about 10 seconds using the provided stirrer or a spoon.
Insert the plunger into the brewing chamber, creating a slight air seal to prevent dripping.
Wait for 30-60 seconds, allowing the coffee to brew and extract.
Firmly press down on the plunger, applying steady pressure until you hear a hissing sound. This should take around 20-30 seconds.
Remove the AeroPress from your mug, unscrew the filter cap, and dispose of the coffee puck.
Dilute your coffee with hot water, if desired, and enjoy!
Shopping Spree: Where to Buy an AeroPress
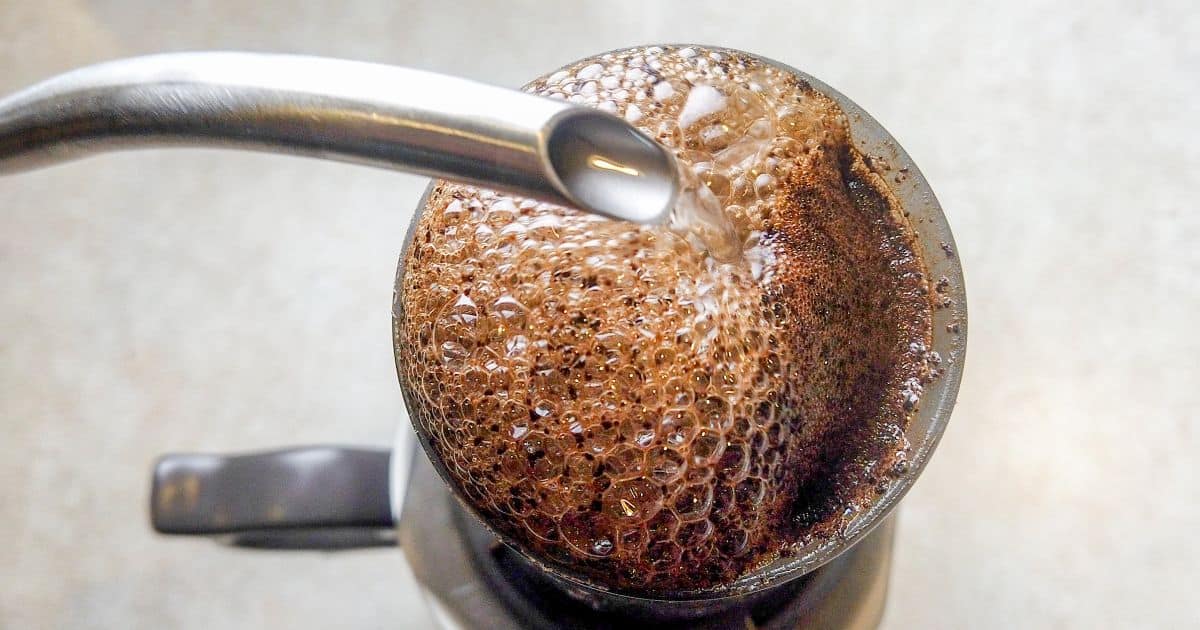
Exploring AeroPress Techniques: The Inverted Method
Apart from the standard AeroPress brewing method, there’s another technique that has gained popularity among coffee enthusiasts: the inverted method.
This approach flips the AeroPress upside down during the brewing process, allowing for greater control over the extraction and minimizing any dripping. Here’s how to do it:
Assemble the AeroPress with the plunger already inserted into the brewing chamber, but without attaching the filter cap.
Flip the AeroPress so that the brewing chamber is on top and the plunger is resting on your mug or cup.
Add the coffee grounds to the brewing chamber, followed by hot water.
Stir the coffee and water mixture for about 10 seconds.
Attach the filter cap (with a pre-rinsed paper filter or metal filter) to the brewing chamber.
Let the coffee steep for your desired brewing time (typically 1-2 minutes).
Carefully hold the AeroPress in place and flip it back over onto your mug or cup.
Press down on the plunger with steady pressure until you hear a hissing sound.
Dilute your coffee with hot water, if desired, and enjoy!
Experimenting with the inverted method can yield different flavor profiles and may prevent over-extraction, particularly if you prefer a longer brewing time.
Fine-Tuning Your AeroPress Coffee: Tips and Tricks
To help you achieve the perfect cup of AeroPress coffee, try experimenting with various factors that influence the brewing process. Here are some tips to guide you:
Grind size: Adjusting the coarseness of your coffee grounds can impact the extraction rate. A finer grind will result in a stronger, more concentrated coffee, while a coarser grind will produce a lighter, more delicate brew.
Water temperature: Experimenting with different water temperatures can bring out unique flavors in your coffee. Generally, a temperature range of 195-205°F (90-96°C) works best for AeroPress brewing. Lower temperatures can highlight acidity and fruity notes, while higher temperatures can emphasize bold, roasty flavors.
Brewing time: Varying the brewing time allows you to control the intensity and taste of your coffee. Shorter brewing times (around 30 seconds) yield a lighter, brighter cup, while longer brewing times (1-2 minutes) produce a more robust, full-bodied brew.
Coffee-to-water ratio: Adjusting the amount of coffee and water used in the brewing process can help you find your preferred coffee strength. For a stronger coffee, try using more coffee grounds and less water. To make a milder brew, use fewer coffee grounds and more water.
By experimenting with these factors, you can fine-tune your AeroPress coffee to suit your personal taste and enjoy a customized brewing experience.
Related Article: Secrets of the James Hoffmann Method: How to Consistently Make Perfect French Press and V-60 Coffee
Can I make cold brew with an AeroPress?
Yes, you can make cold brew coffee with an AeroPress! Although the process is a bit different from the traditional cold brewing method, it’s still quite simple. Follow these steps to create a delicious AeroPress cold brew:

Grind your coffee beans coarser than you would for a regular AeroPress brew (similar to a French press grind).
Assemble the AeroPress using the inverted method (with the plunger already inserted into the brewing chamber and the brewing chamber on top).
Add the coffee grounds (about 15-18 grams) to the brewing chamber.
Pour cold water, instead of hot, into the brewing chamber, saturating all the coffee grounds. Fill it up to the desired level based on your preferred coffee strength.
Stir the coffee and water mixture for about 10 seconds.
Attach the filter cap (with a pre-rinsed paper filter or metal filter) to the brewing chamber.
Let the coffee steep in the fridge for 12-24 hours, depending on your desired flavor intensity.
After steeping, carefully hold the AeroPress in place and flip it back over onto your mug or cup.
Press down on the plunger with steady pressure.
Dilute your cold brew concentrate with cold water, milk, or ice, if desired, and enjoy!
This method will produce a smooth and refreshing cold brew coffee, perfect for hot summer days or whenever you crave a chilled coffee treat.
Shopping Spree: Where to Buy an AeroPress Coffee Ma
Now that you’re convinced of the AeroPress’s greatness when it comes to making a delicious cup of coffee, you might be wondering where to purchase one.
Luckily, the AeroPress is widely available both online and in brick-and-mortar stores. Some places to consider:
Online retailers: Amazon, Walmart, and Bed Bath & Beyond all carry the AeroPress, often with free shipping or in-store pickup options.
Specialty coffee shops: Many local coffee shops and roasters sell AeroPress coffee makers alongside their beans and other brewing equipment.
Kitchenware stores: Stores like Crate & Barrel, Williams Sonoma, and Sur La Table typically stock the AeroPress in their coffee section.
Before you buy, don’t forget to check for any available deals or promotions, as the AeroPress can occasionally be found at discounted prices. Happy shopping!
Key Takeaways
Before we wrap up, let’s quickly recap the highlights of our AeroPress journey:
The AeroPress is a versatile, fast, and easy-to-use coffee brewing device that produces a smooth, full-flavored cup of coffee.
It combines total immersion and pressure extraction to create a unique brewing experience, with customizable coffee strength.
The AeroPress can produce a concentrated coffee resembling espresso, suitable for various espresso-based drinks.
Experiment with different brewing techniques, such as the inverted method, and adjust factors like grind size, water temperature, and brewing time to create your perfect cup.
The AeroPress is widely available for purchase, both online and in physical stores, and offers an affordable, portable alternative to more traditional brewing methods.
Final Verdict: Who Is the AeroPress For?
The AeroPress has certainly made its mark in the world of coffee brewing. Its innovative design, speed, and simplicity have won over coffee lovers everywhere. Whether you’re a seasoned coffee connoisseur, a casual sipper, or a traveler seeking a portable brewing option, the AeroPress has something to offer.
If you value quick brewing times, easy cleanup, and the ability to experiment with different brewing techniques, the AeroPress might just be the perfect coffee companion for you.
So why not give it a try and see for yourself? You might just discover your new favorite way to enjoy a great cup of coffee.
Slightly Related Article: Drip Coffee vs Pour Over: Master the Art of Coffee Brewing with Bee House
Frequently Asked Questions
Is Aeropress as strong as espresso?
While the AeroPress can produce a concentrated coffee similar to espresso in terms of flavor and strength, it doesn’t create the same level of pressure required for a true espresso shot.
As a result, AeroPress “espresso” may lack the crema found in an authentic espresso. However, it’s still a delicious and robust option, suitable for various espresso-based drinks or for those who prefer a strong coffee without needing an espresso machine.
Is it worth getting an Aeropress?
Absolutely! The AeroPress is a versatile, affordable, and portable brewing device that produces a smooth and full-flavored cup of coffee in under a minute. It’s easy to use, easy to clean, and allows for customizable coffee strength.
If you’re a coffee enthusiast or just want to try a new brewing method that makes delicious coffee, the AeroPress is definitely worth considering.
How do I clean and maintain my AeroPress?
Cleaning and maintaining your AeroPress is a breeze. After brewing, simply unscrew the filter cap, eject the coffee puck, and rinse the AeroPress components with warm water. You can also use mild soap if needed.
Avoid using abrasive cleaners or scrubbers to prevent scratching the plastic. Store your AeroPress with the plunger pushed all the way through the brewing chamber to prolong the life of the rubber seal. With proper care, your AeroPress will last for years of brewing enjoyment

